Top 3 Things to NOT Caulk
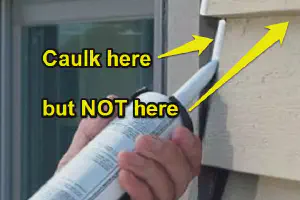
Caulk is a vital part of any exterior painting or maintenance job, but sealing every gap or seam can …
Nail Pops: What To Know
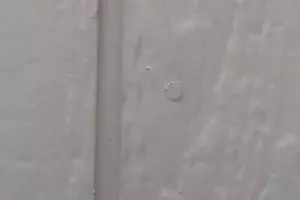
nail pop (noun) | ˈnāl ˌpäp| A condition in which a nail protrudes above the surface of drywall or …
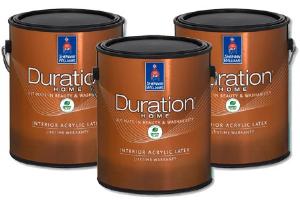
Proper Paint Storage - 3 Steps
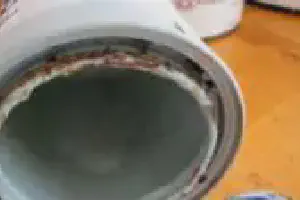
As a general rule of thumb, if a can of paint is less than one third full it is not worth storing - …
Painting Cedar Shake Shingles
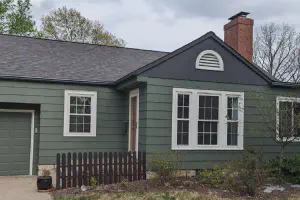
Cedar shake shingles can split and curl when not properly cared for. While replacing damaged …
Tips For Dark Paint Colors
Deep, vibrant paint colors can transform a room with dramatic flair, but you might be wondering how …
Color of the Year
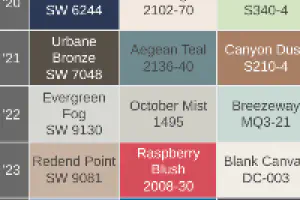
Experts can't agree on color trends. This year's "Sweet Lilac" will be next year's …
Vinyl Window Trim Color
Vinyl windows often come in a stark “hospital white.” Choosing "matchy-matchy" trim paint …
Top 5 Uninsured Contractor Questions

Insurance isn’t just paperwork—it’s a safeguard against the unexpected. When you hire someone …
What's A Warranty Worth?

When something goes wrong, you want to know someone will make it right—but that depends on who you …
Tips For Painting Trim

Homes can end up with “Trim White” by default, even though it might be too bright, too blue, or just …