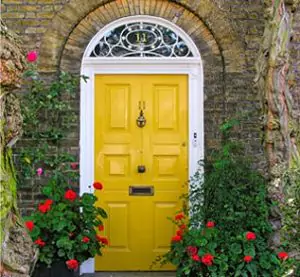
 Something we see quite often on interior projects is the different styles of interior carpentry and the effects that those styles have on a painted finish. Traditional styles tend to hide the effects of wood movement from
- Seasonal expansion and contraction
- House settling or movement
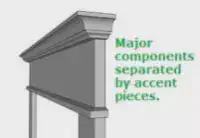
This is because the different component pieces never join flat-edge to flat-edge.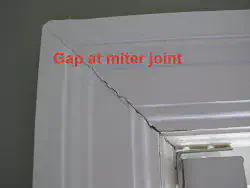
 You can see in the picture how this plays out. Older craftsmen were aware of wood movement and used that knowledge to "design-out" those effects. The wood still moves - it's just not as noticeable to the eye.
Newer construction ("newer" being almost anything since 1940) is different. The post-war Baby Boom required lots of housing built quickly. For both economics and speed of construction miter joints were used. This was to minimize the number of pieces, the number of cuts and therefore the labor cost. Find more info on New Wood vs Old Wood.
The downside to all this efficiency is joint gaps. Buildings move and seasons change - gaps happen.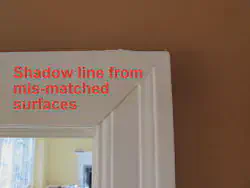
 To the right there's a miter joint that's opened up. Just below is a similar joint whose surfaces don't match and therefore have an uneven appearance.
If you've got joint problems (sorry - painters's humor) give Crestwood Painting a call today.
The painting prep process for this situation is similar to traditional joinery, but the long-term effects are very different. Scrape or sand excess paint or caulk, prime as needed and re-caulk the joint. Over time, these joints will open or mis-match - it's just a consequence of design trade-offs.
Latest Posts
Top 3 Must-Haves For Hiring A Painter
22 Oct, 2023
Lead Paint: It's Important
01 Sep, 2023